A quick walkthrough of the initial setup of R81.20 on Proxmox.
A quick overview of how to configure the Gaia system on Open Server for Checkpoint in version R81.20 step by step.
CHECKPOINTVIRTUALIZATION
3/30/20242 min read
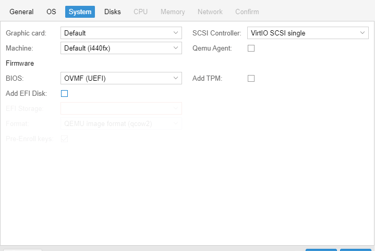
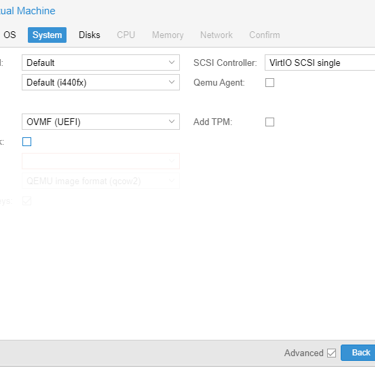
Let's install Checkpoint in its R81.20 version virtualized in Proxmox. The current versions do not support the BIOS in SeaBios, which is the default when you start a new virtual machine. To install and use it, change to OVMF UEFI. It is not necessary to use the TPM.
With this consideration, let's proceed to the installation.
For installation and configuration, you will need two files: the ISO with R81.20 for installing Gaia in Open Server and the Smart Console for Windows compatible with this version.
The minimum hardware to be able to start Gaia is 4GB of RAM. 02 Cores allows you to install the image, but the performance is not satisfactory during tests, even in the laboratory. The ideal is to have at least 04 cores and 8GB of RAM for more fluid use. The user experience may vary from hardware to hardware.
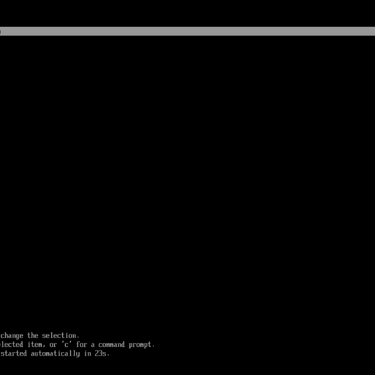
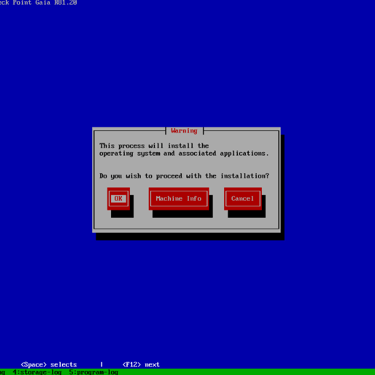
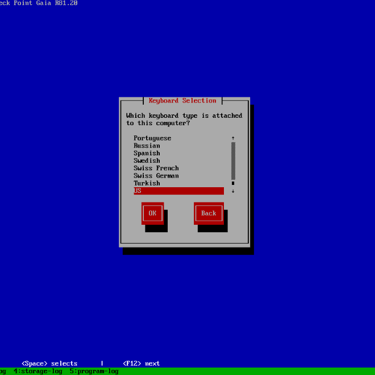
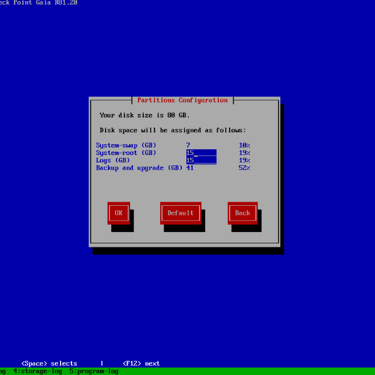
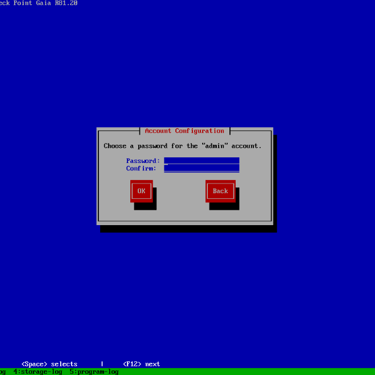
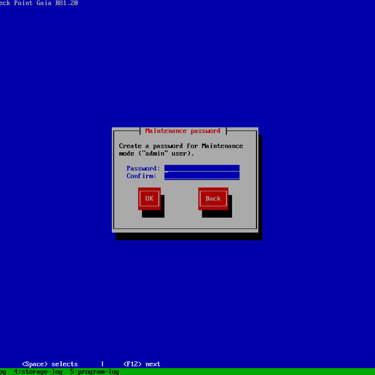
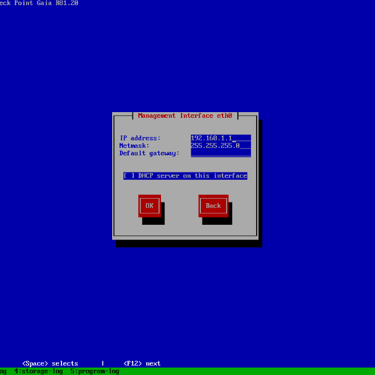
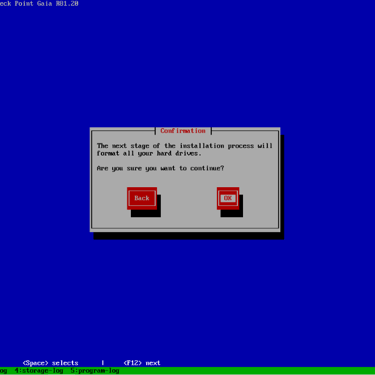
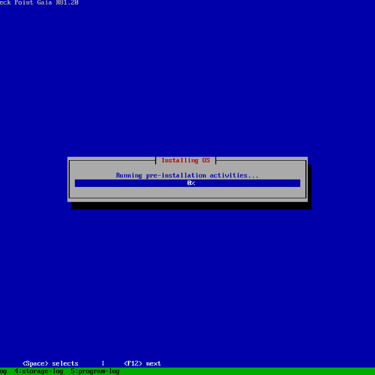
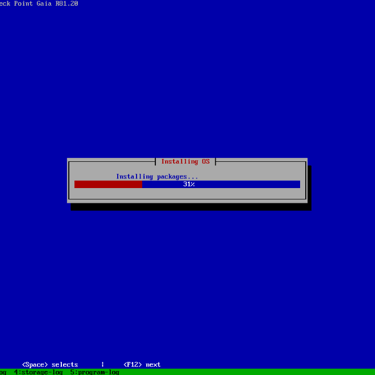
The initial installation process defines the keyboard layout, disk partitioning, which for laboratory purposes we will leave at default, and the Gaia management passwords. Below is a gallery of images showing the sequence of screens during the initial installation of the operating system.
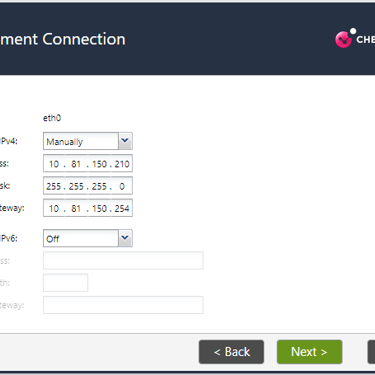
If you need to check the IP address settings that were defined during installation or change them, follow the commands below.
#show management interface
#set management interface <Interface Name>
#set interface <Interface Name> ipv4-address <IPv4 address> subnet-mask <Mask>
#save config
To set the default route:
Set the default route via 10.81.150.254:
#set static-route default nexthop gateway address 10.81.150.254 priority 1 on
Set the default route via eth0:
#set static-route default nexthop gateway logical eth0 priority 1 on
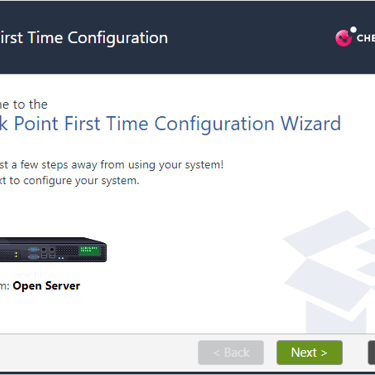
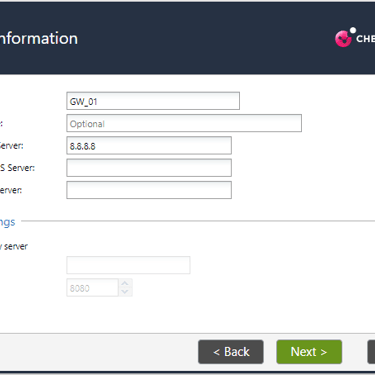
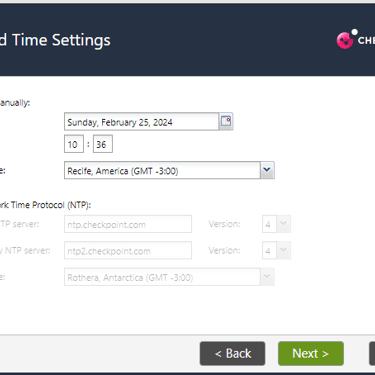
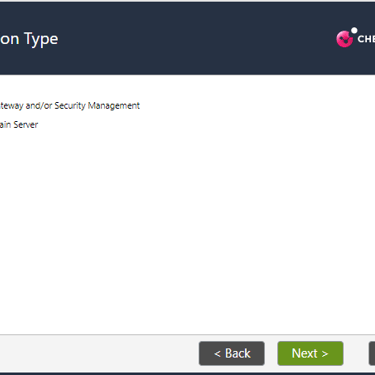
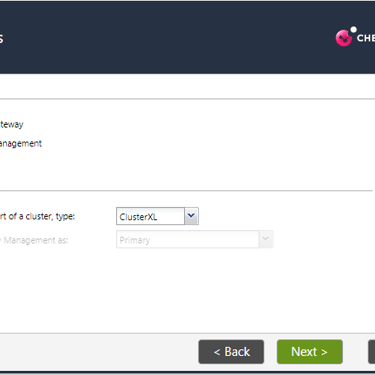
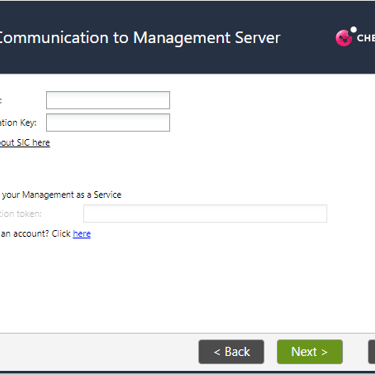
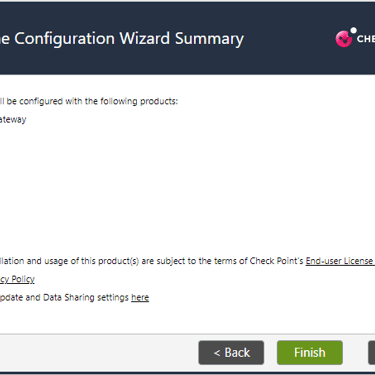
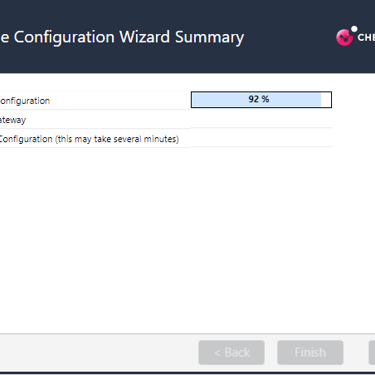
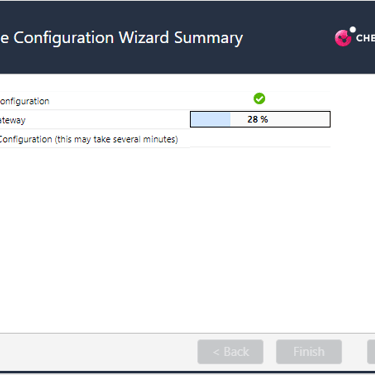
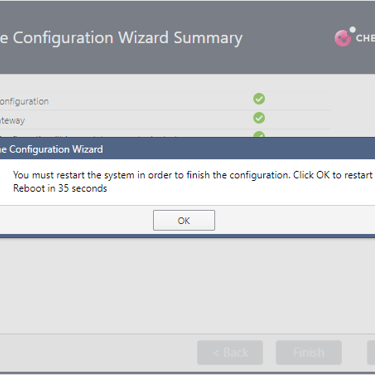
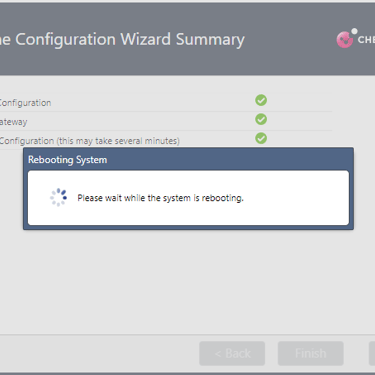
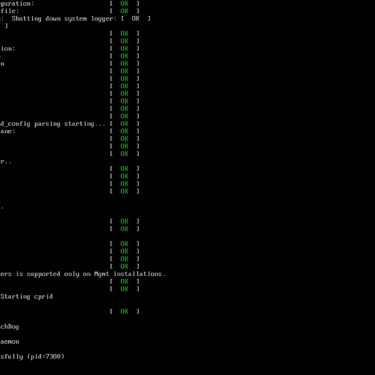
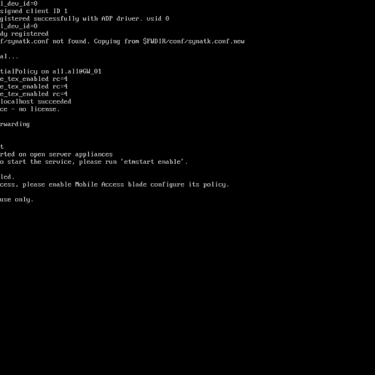
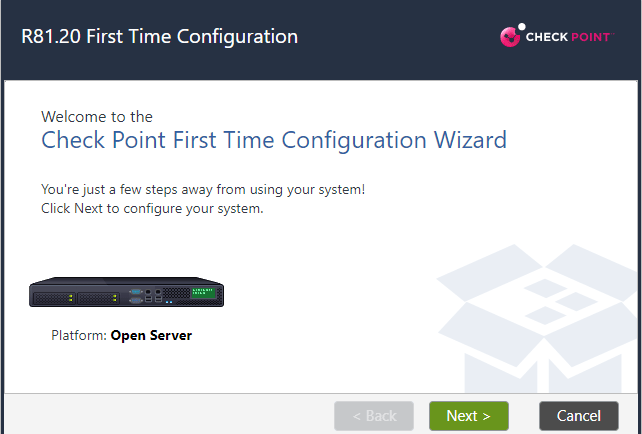
After the installation and reboot, we will run the Wizard, where in this step we will define the type of installation, if it is a recovery to restore a previous backup, hostname, time and date settings, among others, such as defining the role of the Open Server, Security Gateway or Security Management Server.
Below is a gallery of images with screenshots of the wizard mode.
After the Wizard is complete, both the host that will be the SMS and the host that will be the Secure Gateway will be ready to establish the SIC and play the role of Firewall and management server on the network.