Configuring IPsec VPN on Linux without Forticlient - FortiGate
How to create a IPsec VPN with Strongswan
VPN
3/4/20243 min read
Configuring IPsec VPN on Linux without Forticlient
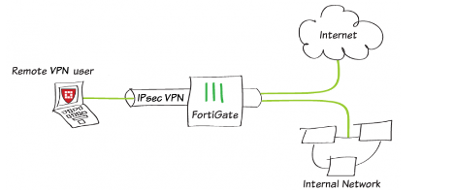
The Fortinet FortiClient doens't had IPsec VPN tunnel for Linux until the version 7.2 release 7.2.4. However, for envoirements that graphical interface isn't a option, like for the development users that using WSL environment, here is a how to proccedure to create a tunnel IPsec on Linux shell.
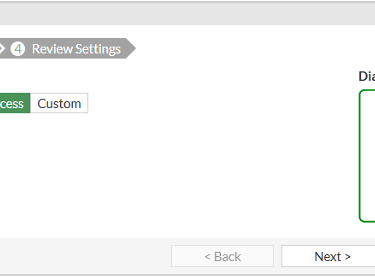
Once logged into the firewall, go to the "VPN" menu and under "IPsec Wizard", define a name of up to 15 characters and select the "Remote Access" template type. In "Remote Device Type" select client-based and check Cisco.
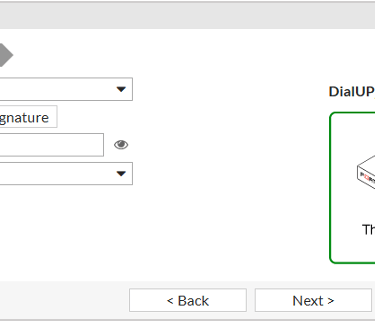
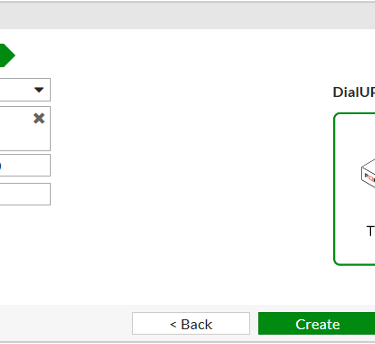
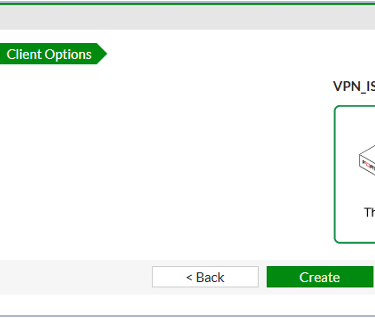
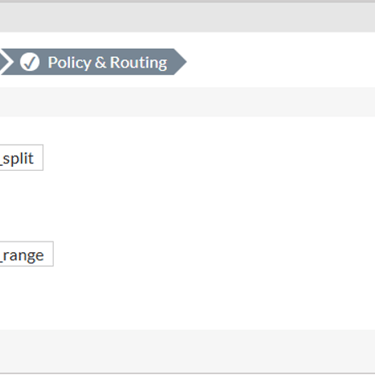
So, after step 01 "VPN Setup" we go to step 02, "Authentication" to define interface, pre-shared key and user group. On step 03 "Policy and Routing" we have the routing interface definition and the subnet destination that will be used through the vpn tunnel. We will have the client addrress range, the DNS option, same as system or specify, and if split tunnel will be enabled or not. The step 04, "Client Options" we have options like a "save password", "auto connect" and "Always Up (Keep Alive)" in the client side.
As a default for tunnels created by wizard, all the configurations will be done, such as route, firewall police and objects. If you need change some parameter, you could change the VPN to custom mode by the "Convert to Custom Tunnel" option.
On CLI the VPN configuration must be:
config vpn ipsec phase1-interface
edit "DialUP_Linux"
set type dynamic
set interface "ISP_A"
set peertype any
set net-device disable
set mode-cfg enable
set proposal aes128-sha256 aes256-sha256 aes128-sha1 aes256-sha1
set dpd disable
set comments "VPN: VPN_CLI_LNX (Created by VPN wizard)"
set dhgrp 14 5 2
set xauthtype auto
set ipv4-start-ip 10.10.254.10
set ipv4-end-ip 10.10.254.20
set dns-mode auto
set unity-support disable
set psksecret ENC "the hash off password"
next
end
The firewall rule with VPN interface on CLI:
config firewall policy
edit 2
set name "vpn_VPN_CLI_LNX_remote_0"
set srcintf "DialUP_Linux"
set dstintf "DMZ"
set action accept
set srcaddr "VPN_CLI_LNX_range"
set dstaddr "172.16.0.0/12"
set schedule "always"
set service "ALL"
set nat enable
set users "vpn.linux"
set comments "VPN: VPN_CLI_LNX (Created by VPN wizard)"
next
end
The second part to be made will configure the Linux to create a vpn tunnel to FortiGate. For that step will be necessary the installation of two packages.
$ sudo apt install strongswan
and
$ sudo apt install charon-systemd
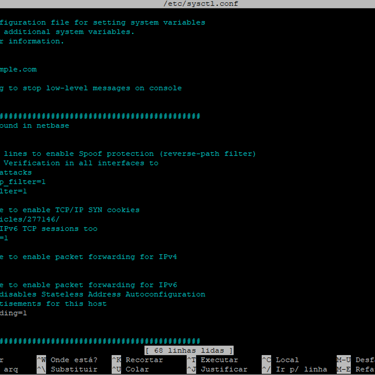
After the installation of that two packages is needed edit the file /etc/sysctl.conf deleting the comented lines in the follow specific lines:
net.ipv4.ip_forward = 1
net.ipv6.conf.all.forwarding = 1
net.ipv4.conf.all.accept_redirects = 0
net.ipv4.conf.all.send_redirects = 0
After editing, verify the service status.
# systemctl status strongswan.service
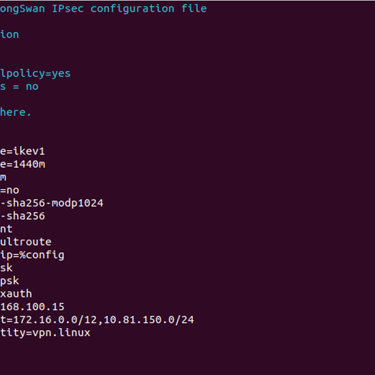
After validate the working as expected that service, will be necessary edit the /etc/ipsec.conf witch the fallowing paramters:
Fortigate Gateway IP: 192.168.104.10 (External IP from FortiGate that will be used to VPN)
Tunnel Type Ikev1 Main Mode
Fortigate LAN IP: 172.16.171.0/24,10.81.150.0/24 (Subnets that will be routed in the VPN tunnel)
Authentication Type: Preshared Key & Xauth
Preshared Key: 123456 (Defined in the first step in FortiGate)
Xauth Username: vpn.linux
Xauth Password: vpn.linux@2024
After ending of editing that file, we will change the /etc/ipsec.secrets adding the follow line:
192.168.100.15 : PSK 123456
vpn.linux : XAUTH vpn.linux@2024
After ending it's necessary restart the strongswan service with the following command as a root user.
# systemctl restart strongswan
# ipsec update
# ipsec reload
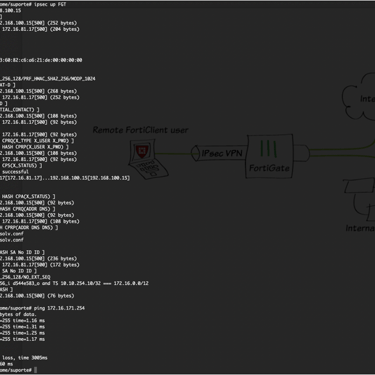
To connect the tunnel, execute the command bellow as a root user:
#ipsec up FGT
FGT is the name of tunnel that was configured in /etc/ipsec.conf. The message “connection ‘FGT’ estabilished successfuly” is displayed.
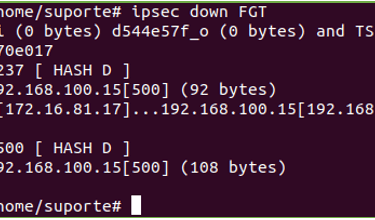
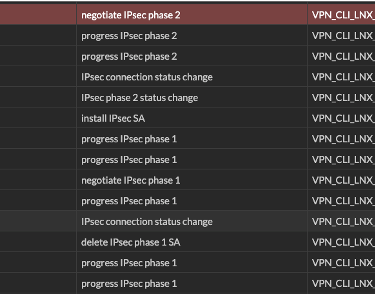
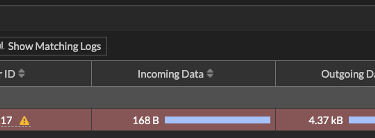
To desconnect the VPN #ipsec down FGT | The message "closed successfully" will be shown. On the GUI after negotiating with success the Phase 2 we can see the VPN tunnel status and other informations like the user or ip that negotiate the VPN.