How to deploy Fortinet Virtual Machines on Proxmox.
Step by step procedure to deploy Fortinet VMs
VIRTUALIZATION
7/28/20242 min read
Fortinet makes available virtual machines files for the main virtualization vendors. The file type that will be used for Proxmox it's KVM. In the next, we will see how is it the process to deploy for Fortinet VM's.
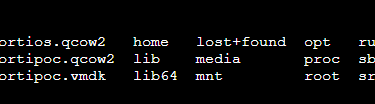
Considering that you downloaded the file, we must upload to Proxmox. The file transfer protocol will be the SCP. The file will be transferred to root directory.
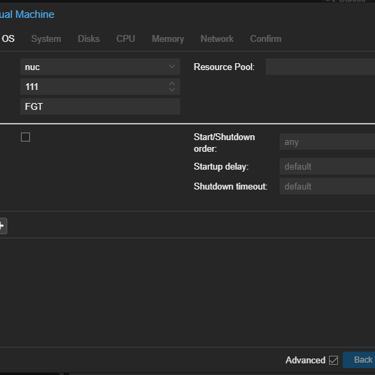
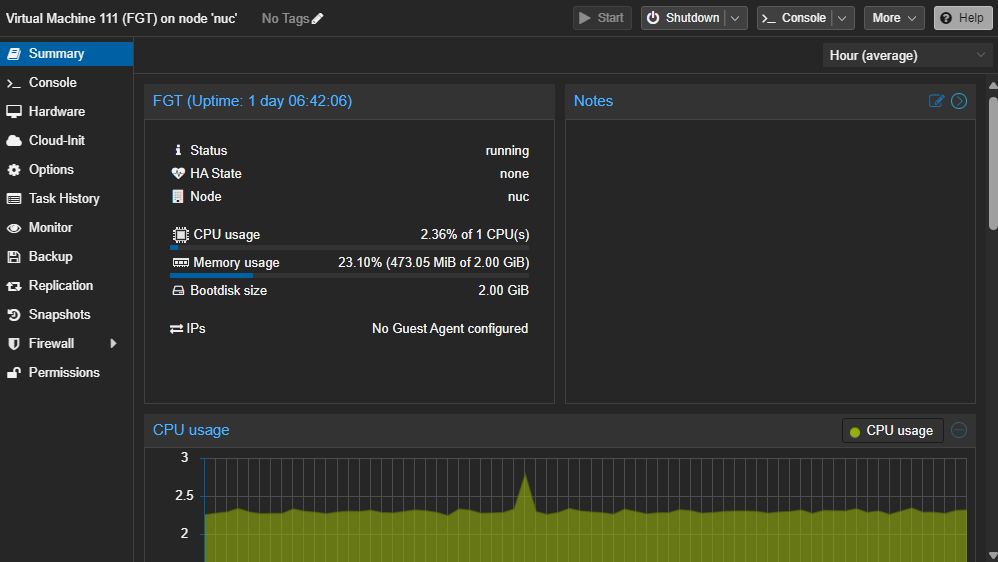
After did the transfer, you should create the VM based on hardware requirements. If you are deploying a VM with trial license, the Fortinet license for FortiGate, allows 1 vCPU and 2GB for RAM memory. So, we need to create the VM template to in last step, attach the disk with Forti OS.
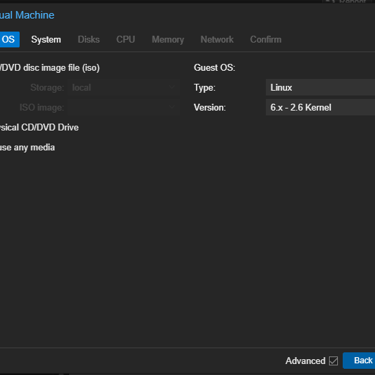
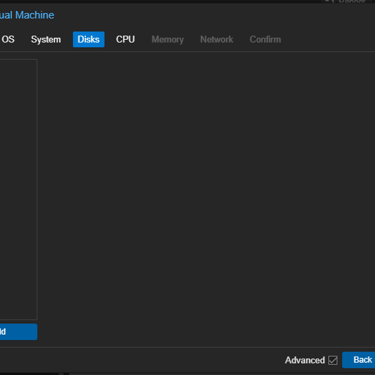
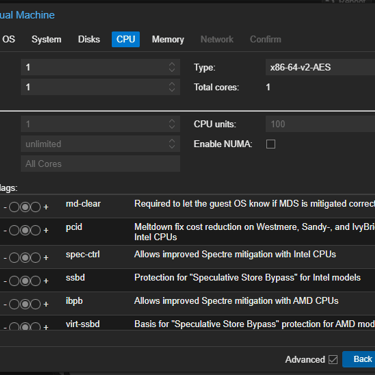
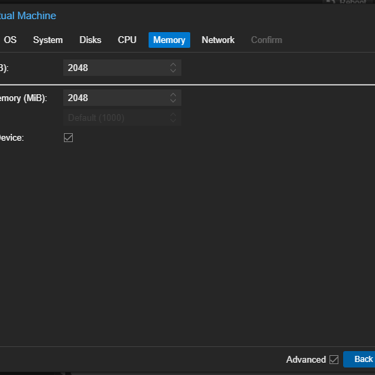
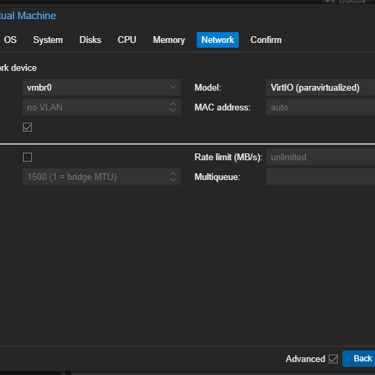
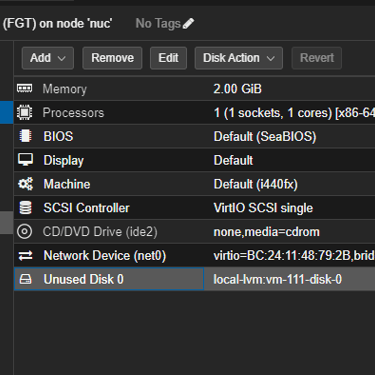
After start to create the vm template, we will need to do some customizations. The first one is in the OS options, you will choose "Do not use any media". After that, in Disk options we will remove the pre created disk, we will use the imported qcow2 file. In CPU, Memory and Network we will select the allowed and possible values for your VM type. In our template will be, 01 vCPU, 2048MB for RAM and only one VM NIC. That values are compatible with FortiGate OS Trial.
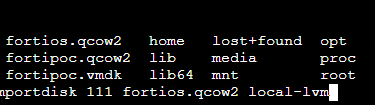
After created the template, the ID of VM, in our is 111, is will be used to import the previously imported qcow2 disk to attach in that created VM, the command:
#qm importdisk 111 fortios.qcow2 local-lvm
Where we have, 111 the ID of VM, "fortios.qcow2" the file name imported and "local-lvm" the storage where the disk will be store.
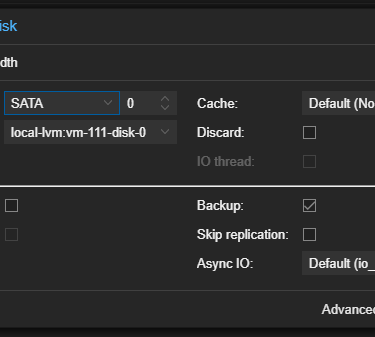
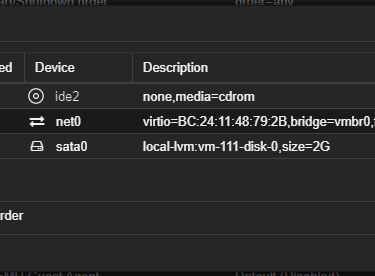
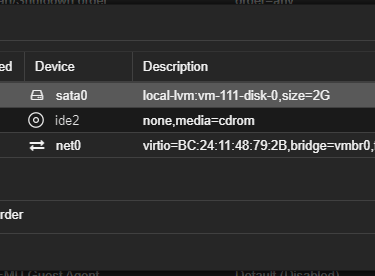
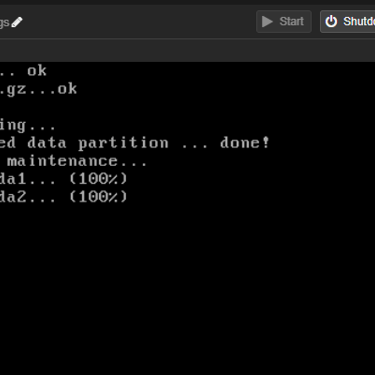
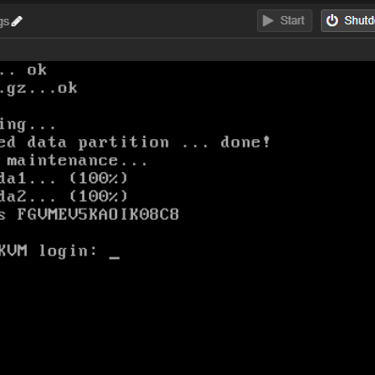
After attached, we need to apply the created disk to VM on the boot options to be possible to initialize the Forti OS. All the entire process, it is simple. Others kind of VMs like Forti Analyzer, will be requiring an additional disk. The process is the same for others Fortinet VMs. After put the attached disk on the first boot option, you can apply and start the VM, the Forti OS will run and after loaded you can use it.
Below the gallery with screen captures of the entire VM creation process.