How to deploy PENETLAB in PROXMOX
Easy way to install PENETLAB in PROXMOX
VIRTUALIZATION
8/31/20242 min read

Introduction
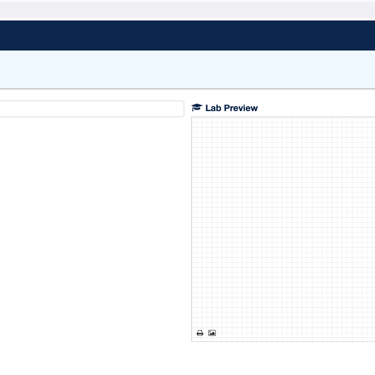
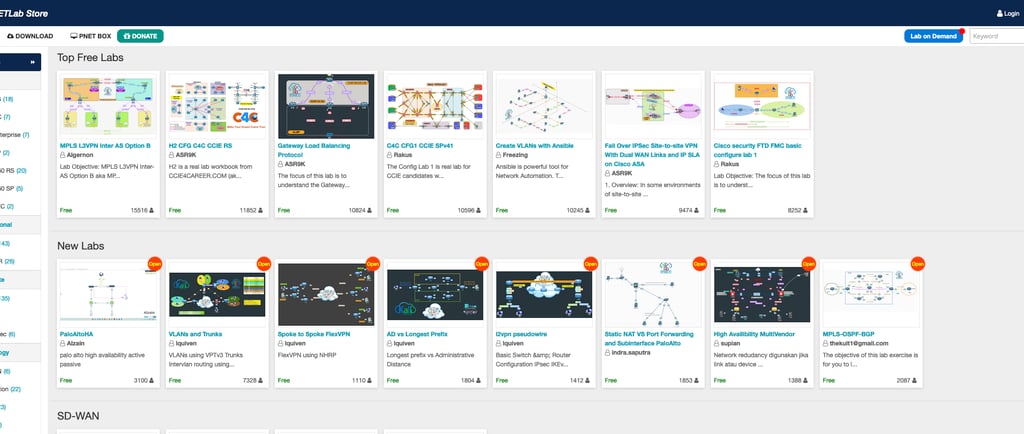
PNETLab (Packet Network Emulator Tool Lab) is a tool that allows you to create, download and share network labs. With it, you can go beyond creating a network lab, you can also simulate IT scenarios of all kinds.
The PNETLab (http://pnetlab.com) is very similar to EVE-NG with the advantage of being free. EVE has many functions, but most of them are only available in the paid licensing version, such as PRO. In addition to being free, PENET has other outstanding features, such as LABSTORE, where users can provide labs with ready-made topologies, with just one click to install it in the environment, along with the necessary dependencies and images so that everything works in a very intuitive and simple way.
With LAB-STORE you can install all the dependencies such as the OS images needed for the LAB to work and the LAB topology just by clicking on “Install”. This is one of the features that sets it apart from EVE. Below is a link to compare the tools.
PENETLAB Features https://pnetlab.com/pages/main
EVE-NG Features https://www.eve-ng.net/index.php/features-compare/
Deployment on PROXMOX
As a first step, go to https://pnetlab.com/pages/download and download the file, which is an OVA.
After downloading, for Windows you can use the WinSCP software to upload the PNET_4.2.10.ova file to the /home folder in proxmox or any other folder of your choice. On MacOS or Linux the command below:
scp PNET_4.2.10.ova root@172.16.81.100:/root/
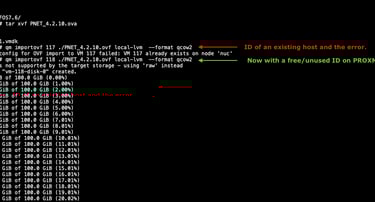
After importing the image into PROXMOX, let's run the command below which will generate the vmdk, ovf and mf that will be needed to create our virtual PENETLAB instance. The command must be done in the folder that is the ova file.
#tar xvf PNET_4.2.10.ova
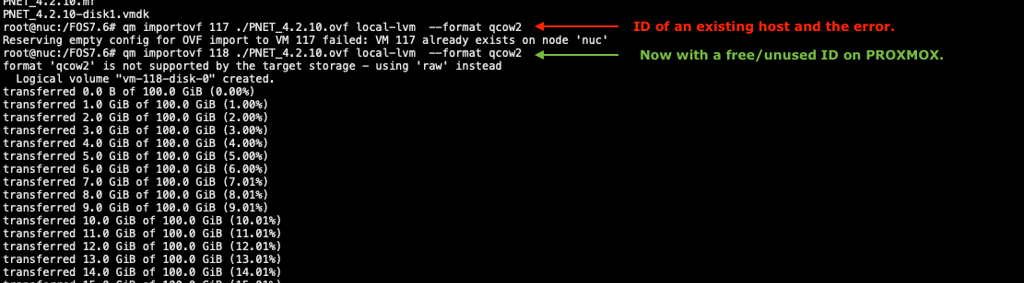
Our last step, executing the command below, will be to create a virtual host with the ID for the new virtualized host, so it is important that the ID to be entered is not in use, otherwise it will generate an error and the host will not be created.
qm importovf 118 ./PNET_4.2.10.ovf local-lvm --format qcow2
After finish, the virtual host named as "PNET4.2.4" will be available in the virtual machines list. The default configuration created by ovf is 4 vCPUs and 8GB of ram.
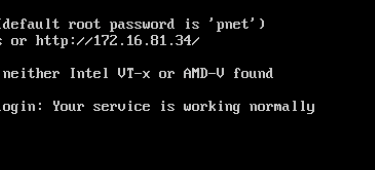
After creating the virtual host, add a network card so that it boots correctly. If you don't add a network card, it will display a yellow screen that gets stuck.
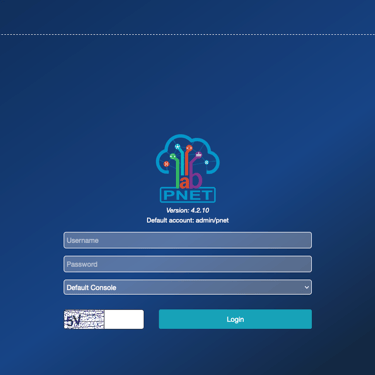
In the console it will receive the IP where we will connect via HTTPS, default account admin and password pnet